Spots: Step 1 - Creating a Project
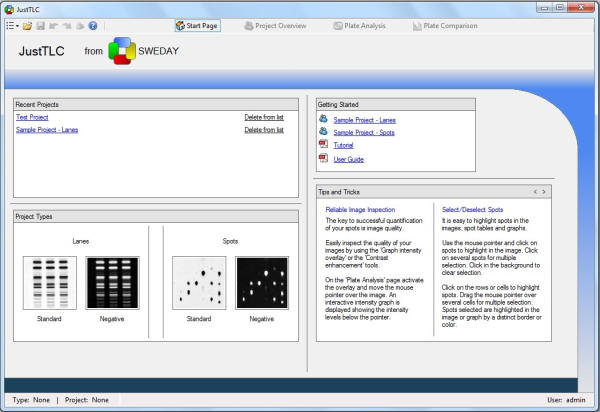
When you have logged into JustTLC you will meet the Start Page ( ) control view, where you e.g. create and maintain projects. It is
shown below. ) control view, where you e.g. create and maintain projects. It is
shown below.
To create a new project click on the Standard project template in the project
Types panel. This will open the New Project dialog that you use to
create your project.
In the dialog enter a project name, e.g. "Internal Standard", and "This is a tutorial
based on images used in the TLC article." as description. Click on the Add
button and browse to your downloaded images and click Ok after selecting
four of them.
Your New Project dialog should now look like the one below.
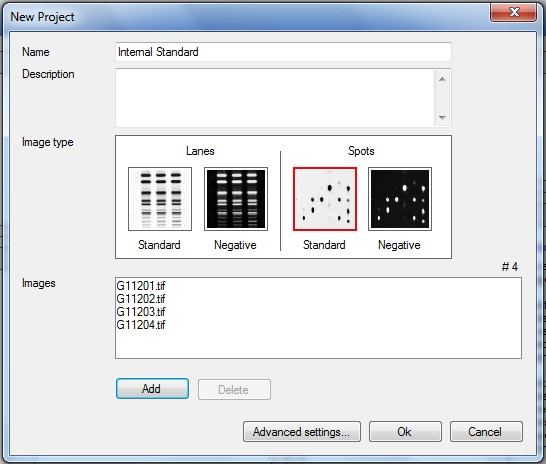
Click on the Ok button and your have completed the creation of your project.
When the project has been created you are redirected to the Project Overview
( ) control
view. ) control
view.
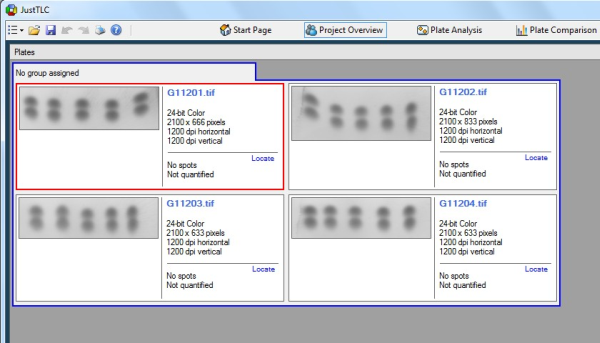
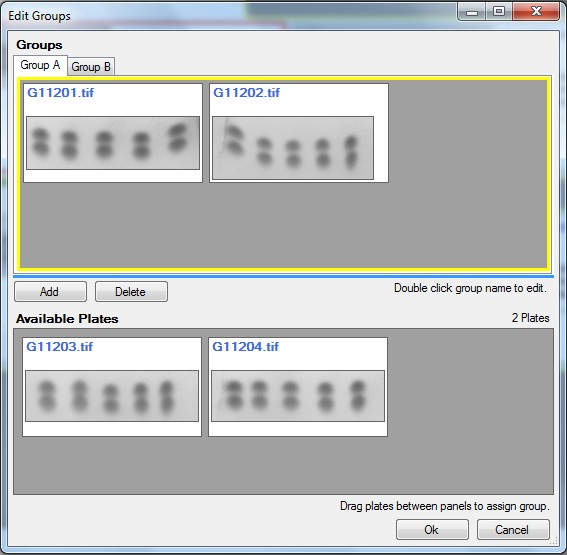
The next suitable step is to organize the plates. Click on the Edit Groups
button below the Plates panel. This opens the Edit Groups dialog (shown
below), where you add/delete groups and order plates within each group. Add two
groups “Group A” and “Group B” and drag plate “G11201.tif” and “G11202.tif” to “Group
A” and the rest to “Group B”. Complete the group editing by clicking on the Ok
button.
Please note that the project has not been saved only because you have created it.
Save the project by clicking on the Save ( ) tool bar item on the top left part of the window and select desired
location and name in the file location dialog that appears. ) tool bar item on the top left part of the window and select desired
location and name in the file location dialog that appears.
Lane Analysis
Spot Analysis
|